Sunday, August 8, 2010

Lightnin' Grease Speed

Like an old boxer, an agile, high performance mechanism was grounded due to waxed up lubricants. The signs were everywhere..


The cams and gears...


To the door plunger assembly...


Right down to the pressure roller assemblies..


All the various parts were disassembled to the final part, completely cleaned of all dirt and lubricants. The amount of dirt was not surprising, but without getting rid of the dirt, this machine was not going to make any good music yet.

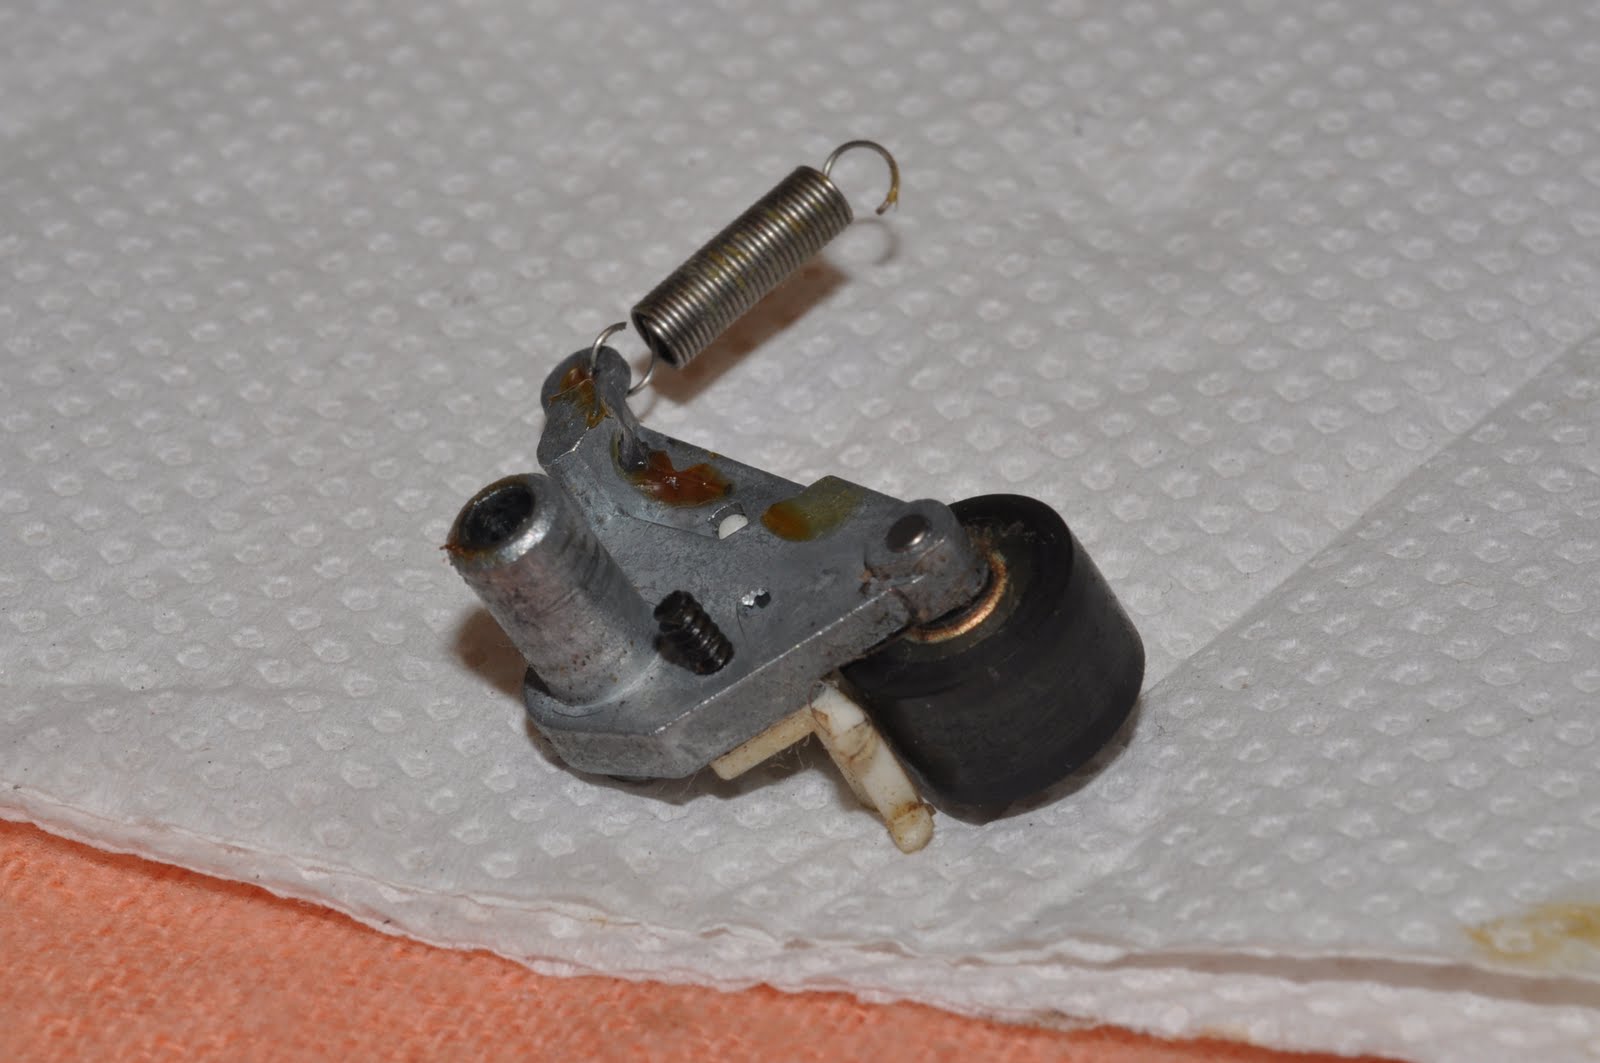
Dirt accumulated on the pressure roller.


Dirt, Hair and Grime.


Dirt deposited on a tape guide adjacent to pressure roller.


The parts are laid out carefully. All components are inspected for wear and worn components are marked for replacement. All washers and fasteners are automatically marked for replacement, as are rubber parts.

The good parts are gently cleaned using a variety of methods. Plastic parts are washed clean in water and detergent. Solvent is used to gently work the lubricants off metal parts. Springs and other parts need to be bathed in solvent for effective cleaning.

More updates in the coming days as the parts travel back in time to reveal their former glory.

Friday, August 6, 2010

Rollin'

Today, the tape transport comes into the limelight. The first step was to check out the tape transport mechanism. Pushing the main cam to engage the transport didn't work - the response was very stiff. Either the transport was jammed or hard lubricants were keeping the joints gummed up. Everything was intact though and nothing was removed. The chances are more of lubricants gone bad, not a difficult problem. So far so good.


Inspection shows too much dust and dirt accumulated in all areas. Probing with a cotton swab, some areas also shown dust and lubricant mixed up into a gunk at certain spots. A close look at the tape path shows brown residue . The heads do not show too much wear though.

The transport needs to be completely taken apart for a thorough cleaning.


Dismantling the back shows the extent to which the lubrication had solidified. What was supposed to be a smooth flowing lubrication, had turned into a hard blob with a wax like consistency.

This area shows where the capstan/flywheel assembly is countered. A small nylon side screw is used as a thrust plate for a small bearing on the flywheel to rest. This is very important for the capstans to turn smoothly and correctly.


Nakamichi uses an interesting system of two capstans. This allows for the use of the capstans to provide tape tension across the playback head. Other makes rely on a single capstan, which exists to regulate tape speed. The Nakamichi system however, behaves like the dual capstan system in some professional reel to reel machines and ensures that the tape is pulled perfectly across the head.

Nakamichi's tape transport is simple and yet brilliant. The obvious problem of two capstans rotating at the same speed to regulate the speed of the same tape is avoided in simple but very effective manner. Both are of different diameters and run at slightly different speeds. Whilst a single motor powers both capstans, keeping them both locked in the same speed, they are belted at different flywheel diameters to ensure they turn at different speeds. At a time when other manufacturers were resorting to exotic schemes like PLL close-loop control to achieve 0.03% , Nakamichi met or bettered those specs using a simple belt driven system.

This is called Nakamichi Asymetrical Defused Resonance Transport. By making the two capstans rotate at different speed, any common noise is diffused. the red trace on the right shows the noise foot print of the transport compared even with other dual capstan transport. With a number of other features, this tape transport is one of the quietest, resulting in a very high-definition sound, for a cassette deck.


Now to further disassemble the transport for a thorough cleaning and reverse back the ravages of time.

Thursday, August 5, 2010

Peeling away the first few layers...

Once the cover has been taken away, carefully to avoid scratches and dents, an appalling sight awaits... The tape memory PCB is loose and dangling by it's wire harnesses! The transport is simply slotted in and not screwed in. Connectors lie strewn and unconnected.


Inspecting closely yielded some good news - there are no visibly damaged parts or components. The missing display unit and dismounted transport suggest this machine may have been on it's way to becoming a part's deck.

The first step is to check the transport. the transport needs to work so that we can establish the functionality of the rest of the deck.

Before that, the panel was removed and kept safely. Some nicks were noted on the edges, but we will come to that later. The tape memory pcb was secured back to it's mounting with new screws to prevent damage to the wire harnesses. With that taken care of, it was time to look into the transport mechanism.

That would require a fresh day and a fresh start...

Friday, July 30, 2010

Rising from the Shadows

A few days ago, I got an urgent request for a deck for a music lover. The person is special as he is one of my mentors in music listening and appreciation. The deck was special too: a Nakamichi 680ZX. This machine is a simple, robust, yet high performance machine that is simply years ahead of itself in performance.


(front page of the Nakamichi 680ZX brochure)

The Nakamichi 680ZX was released in 1979 and was one of the first high-end cassette decks to feature the new Metal or Type IV tape formulation. Featuring automatic azimuth alignment, half-speed playback and recording, 3 separate and individual heads, 18-program song memory system and a spectacular Fluorescent Display.

It is an amazing machine that boasts truly amazing specifications. A machine worthy for a music lover indeed!


The deck arrived at my bench today. What a pictures show is a sleek and black beauty. What was in front of me was literally a pile of parts.


The deck was overall very dusty. The front panel was loose and the cassette compartment door was missing as were the knobs were also missing. The top cover was bent at the right side.


Taking off the top cover required a little force and much delicate maneuvering to prevent the cover from being damaged further. Inside was a continuation of the outside.

The transport was dismantled and disconnected, while various other connectors were not plugged into their positions. The biggest shocker: The display unit was missing! This deck is going to be a challenge indeed!